It’s now about a month since my 3rd and final eMbrowdery session. We forget what a difference eyebrows make on our face until we’re faced with not having any. Being able to maintain the illusion of having eyebrows (without any makeup) throughout my treatment has made a huge difference to me. For that reason I’m delighted I went through with the eMbrowdery. Overall I am very happy with the results, however, being totally honest, I had expected that once I had them done I wouldn’t need to touch them when doing my makeup – at least for a good few months until they started fading. Maybe this was just an unrealistic expectation but I am a little disappointed that I have felt the need to fill them in when I’m wearing makeup.
I also feel the shape of my right eyebrow is a little “wormy” it has a bit of a slant and a slight dip on the top that isn’t on my left brow which means it needs a little extra help to get the shape I wanted. What I need to keep in mind though is with virtually no natural hair as a base the results are unlikely to be as effective so maybe I am being a bit critical here, the results do save me a lot of time, it’s just a bit of a pain having to fix and fill in the shape after spending almost €600 on them!
All in all though:
Am I happy I had it done – Yes!
Would I pay the money again – Yes!
Would I recommend it to anyone going through Chemo – Yes!
However, If I decide to continue to invest in the top ups (which I probably will) I think, going forward, I will opt for Microblading (which goes a layer deeper) but for now I’m very grateful that I had the eMbrowdery option during my treatment.
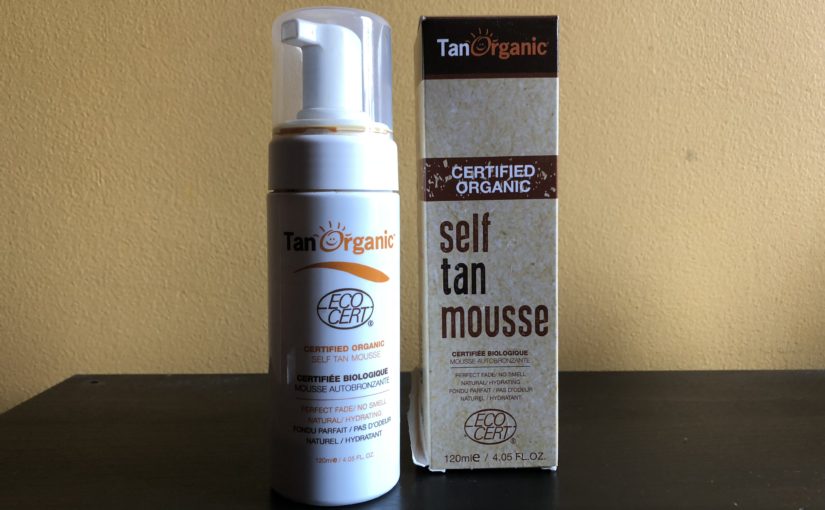
From a self-confessed “tanaholic” I can’t believe I’ve gone this long without doing a post on tan! I have done my tan religiously twice a week for years. I’ve tried a number of different tans over the years but before my diagnosis I was using the Cocoa Brown moose (after changing from St Tropez a few years ago). It will seem ridiculous to most people but one of my first questions after getting my treatment plan was – “Will I be able to wear my tan”. The thoughts of reverting to my natural pasty white /blue complexion wasn’t appealing. Since starting my chemo I’ve changed my tan to an organic one and have been using Tan Organics Moose. I have to say I was very pleasantly surprised with this tan. The colour has a lovely natural tone and the tan lasts well. If I was to be critical there are two things I would fault it on – First, and as far as I’m concerned its biggest downfall is it’s price – at €29.99 for a 120ml bottle I find it hard to justify given you can get a 150ml bottle of Cocoa Brown for less than €9.00. I know it’s Organic, and for anyone who just does their tan occasionally it would be worth it but it adds up pretty quickly when using it so regularly.
Secondly, I find it really difficult to exfoliate in particular from the feet, it requires a lot of scrubbing, especially around the toes. Saying that I’ve received a few compliments on it and how natural shade is.
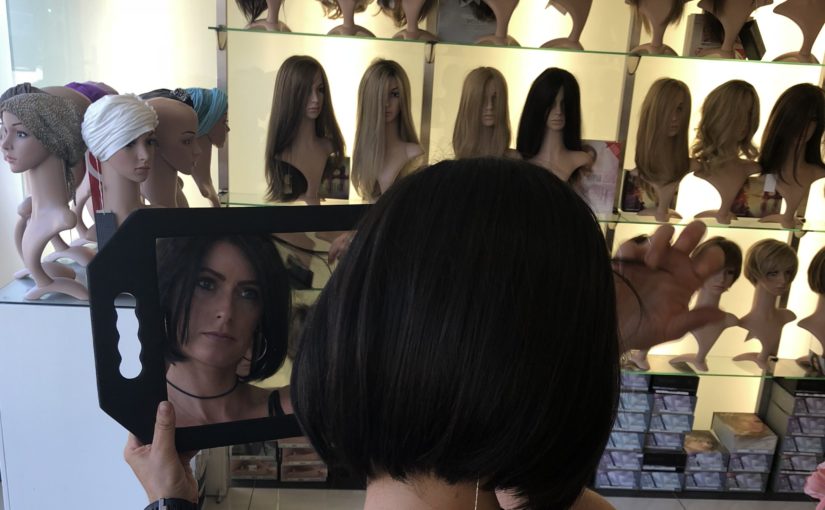
When you’re diagnosed with cancer it’s a massive blow and can take a while to process so looking for a wig is probably pretty low on many peoples list of priorities but the advice given to me, which I would definitely echo is to start your wig search as soon as possible and definitely before you start treatment if at all possible. By doing this it means you can have the search done before you need to start dealing with the side effects of treatment but it also helps them to see your hair/hairstyle in the store to enable them to recommend a good match if you’re not opting for a total image change. There are so many different options available, from synthetic to human hair or a mix of both in all styles and colours. When looking, consider what will suit you and your lifestyle and budget best. If you are a medical card holder you are entitled to an allowance towards a wig or if you have health insurance many providers offer cover for wigs (I was very lucky with my cover as both my wig and hair piece were covered).
Reminiscing my blonde days (lol!)
The synthetic wigs are the easiest to care for but cannot be styled. The human hair options can be blow-dried, curled, straightened and styled like your own hair but take a little more looking after and are more expensive and the mix can be styled a little (just no major heat so not straighteners or curling tongs). It’s also important to consider how long the wig will last. Take your time with your wig search and don’t be afraid to ask loads of questions and shop around until you find the right one for you.
Cancer support centres will have a list of local wig suppliers but I just did a google search which brought up stores near me with reviewer ratings. Based on this and other recommendations I received I narrowed my search down to 3 stores (I only made it to two in the end though). I first tried the Hair Club in Donnybrook who have a great selection of wigs and accessories. Being totally honest, my first visit here wasn’t a very pleasant one. This surprised me because I had been here previously with mum as this is where she got her wig. One of us may just have been having an off day but for some reason that I can’t quiet put my finger on I felt an impatient vibe – as if I was being awkward wanting to try a few different styles and not finding what I was looking for during my appointment which made me upset. I have been back since to buy a hair piece and had a better experience so I would still recommend them for their range if nothing else.
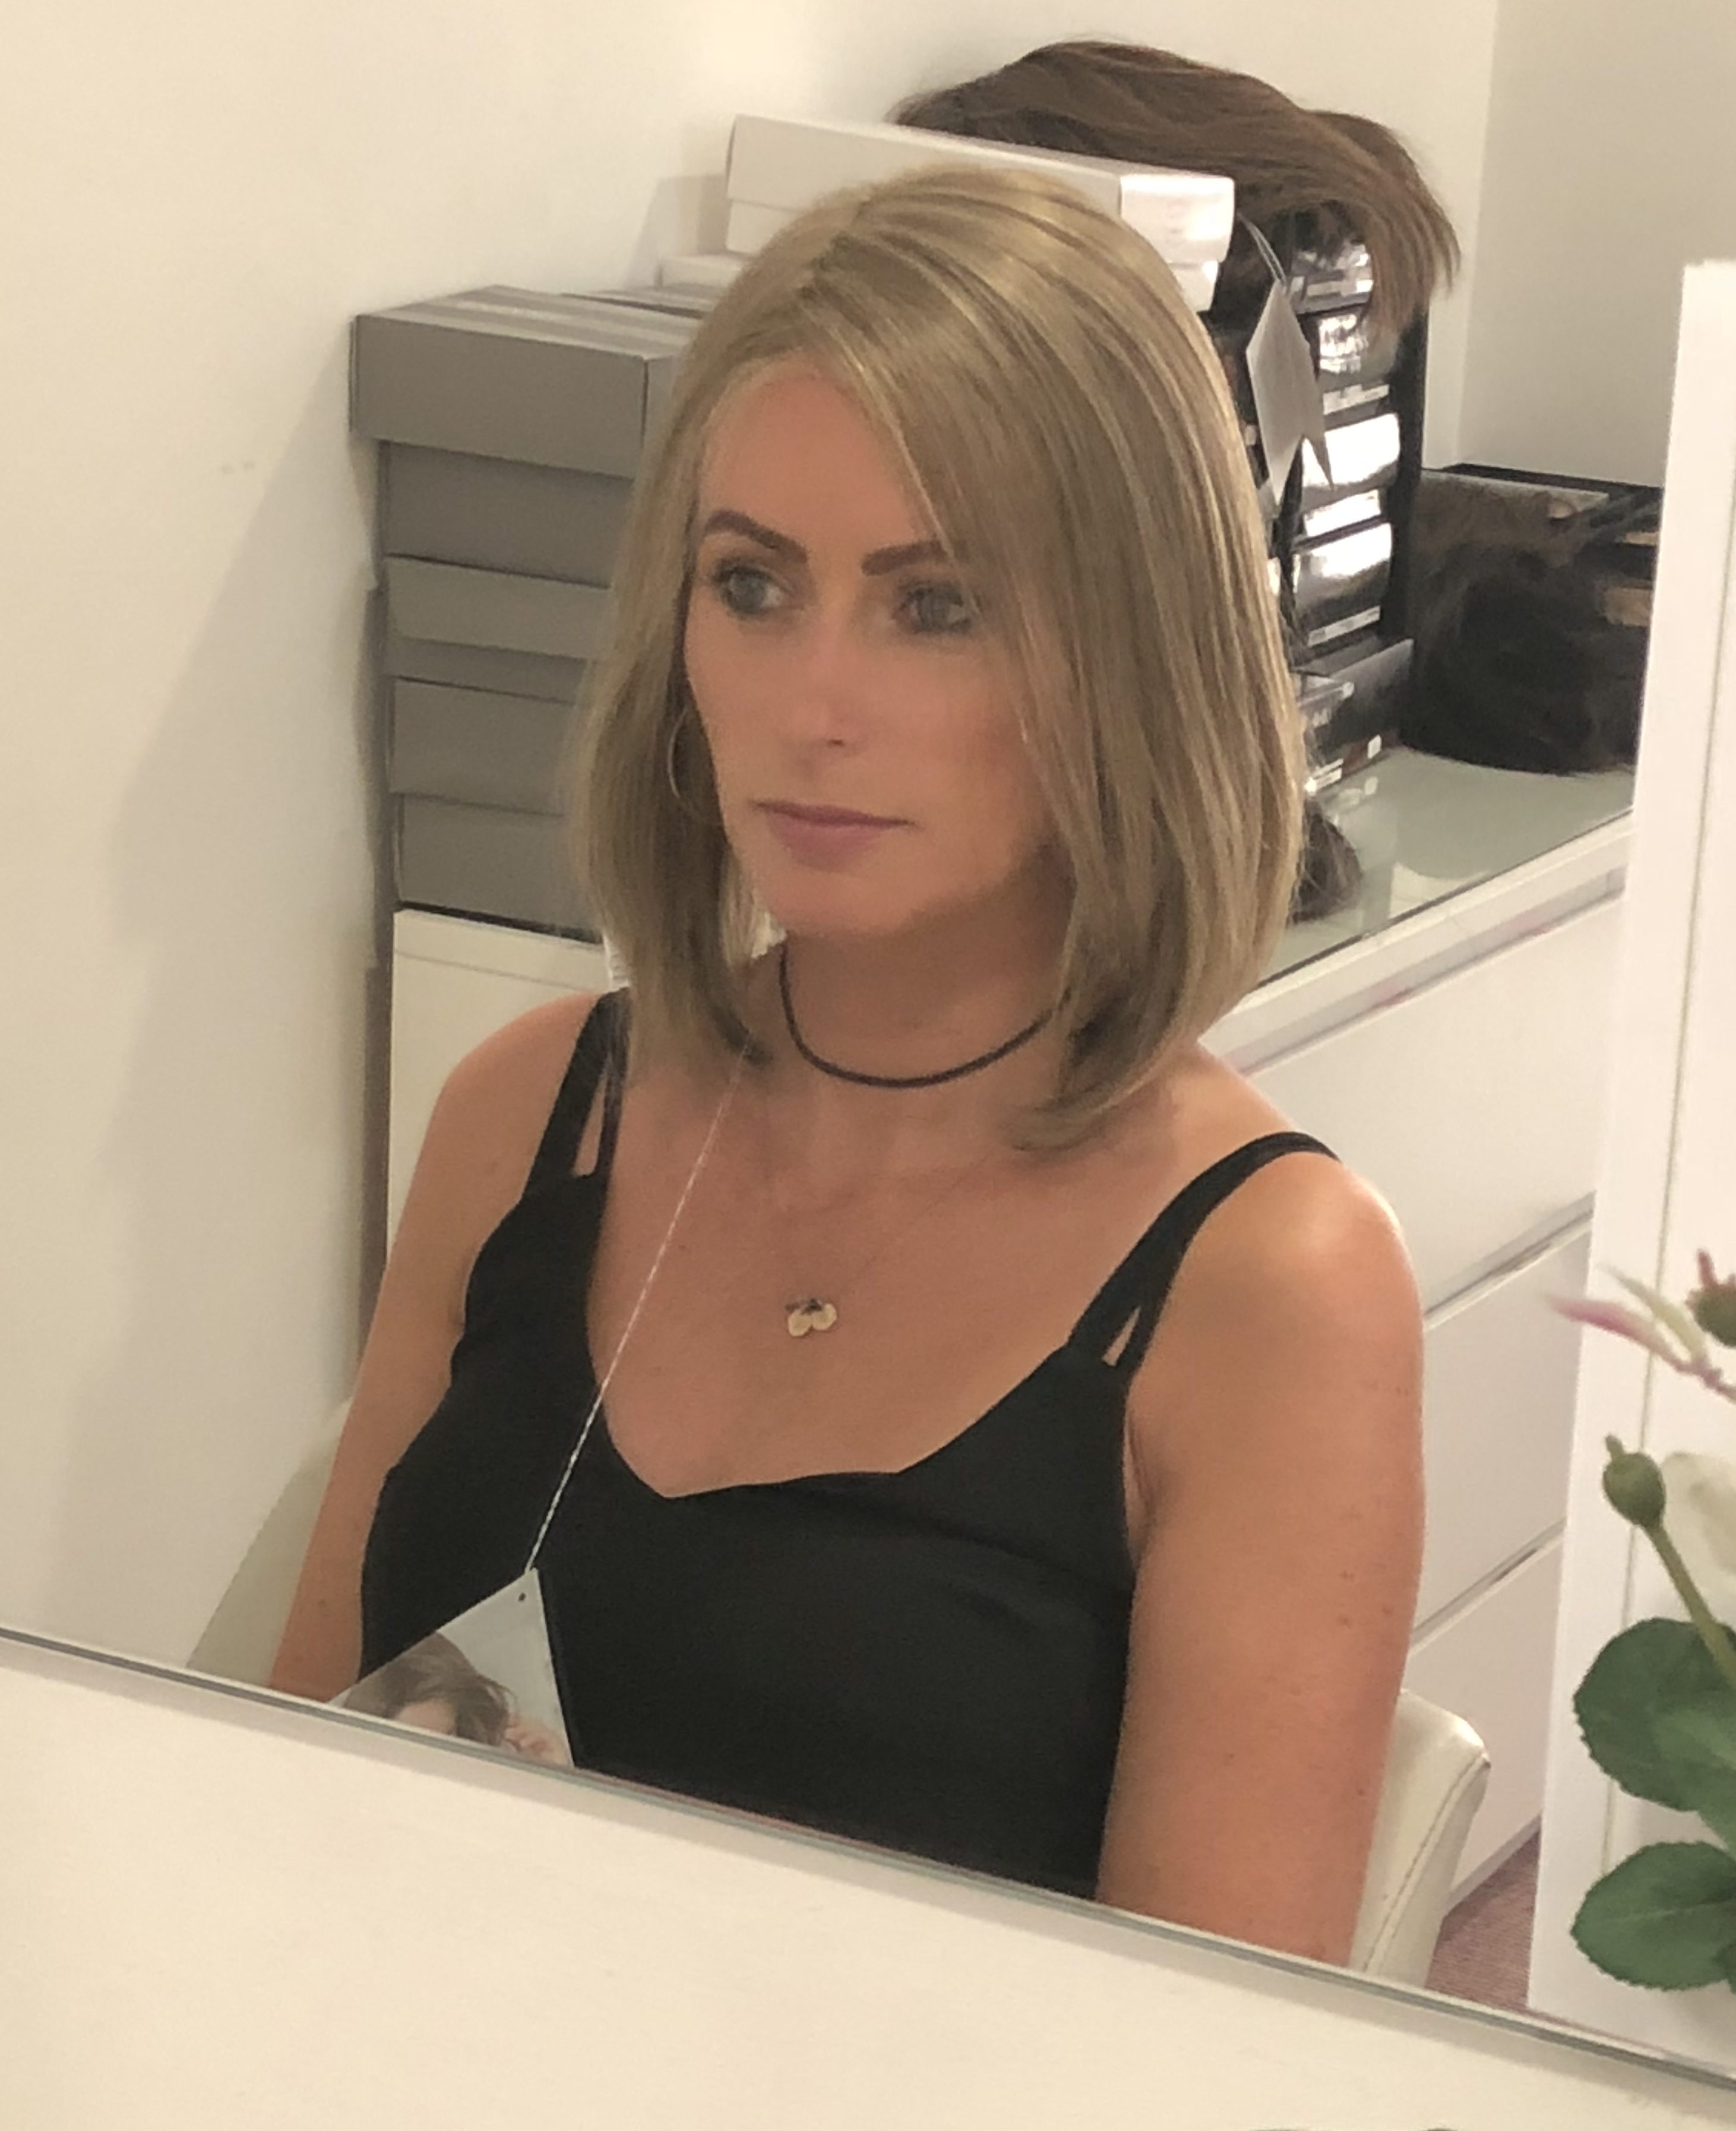
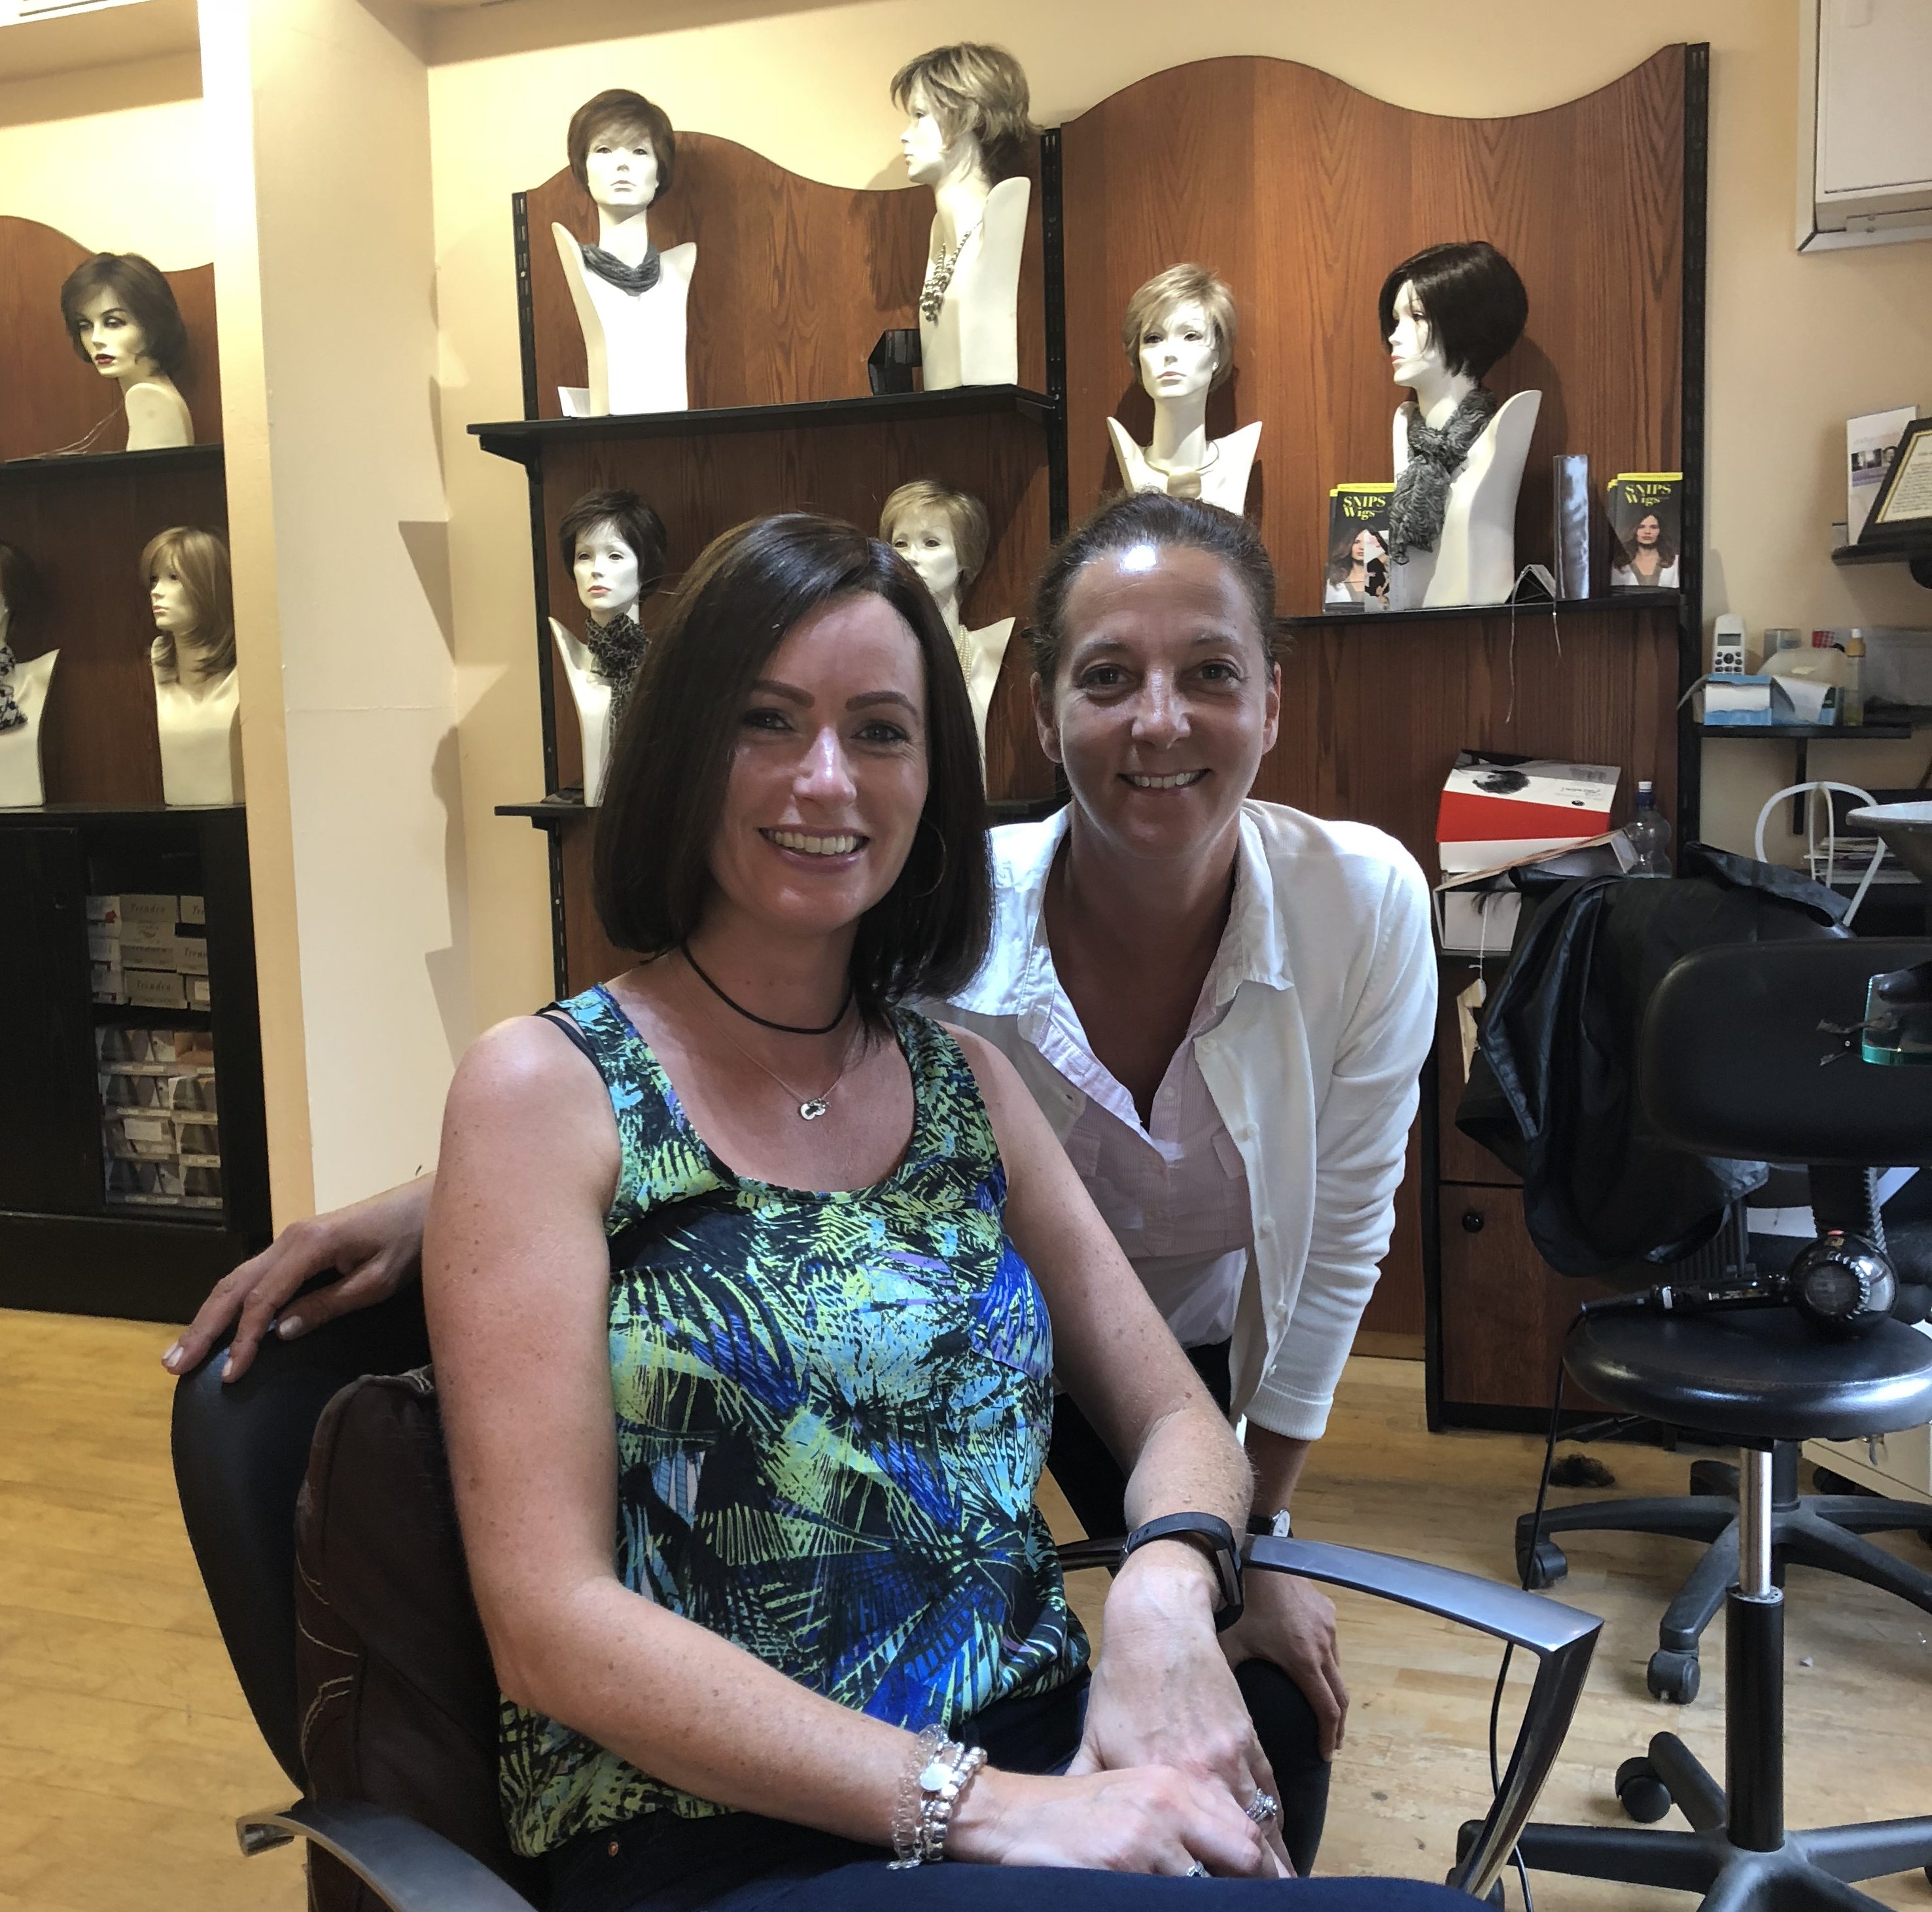
The second store I visited was Snips (which was on Middle Abbey street but has since moved to the Beacon in Sandyford). My experience here was totally different – Laura runs the shop and has had personal experience of hair loss and wearing a wig so is very understanding and so friendly, helpful and kind and she made the experience so pleasant. Laura understood what I was looking for and ordered in some additional pieces she thought would suit. I would highly recommend taking a visit to Snips and I found Laura amazing.
Laura in Snips
The third store I had on my list which I know is very popular is Roches, however I had already found a wig in Snips so didn’t look any further. In hindsight I probably should have had a look anyway – just to be sure and would recommend having a look in a few stores so you are 100% confident you have chosen the right Wig for you.
If you are opting for the cold cap I would recommend still going and looking at wigs and hair pieces but don’t rush into buying one. I bought one which I have never used. I will hang on to it for a little longer until I get the all clear (just to be sure!) and will probably donate it. Some shops will hold a wig for you if you select one that you like so it’s there for you if and when you need it. Many people using the cold cap won’t need any form of head cover but I have felt like I needed a little extra coverage the last few weeks. A hair piece was a better option for me as it gives me the coverage without having to wear a full wig (it just sits on top of my own hair).
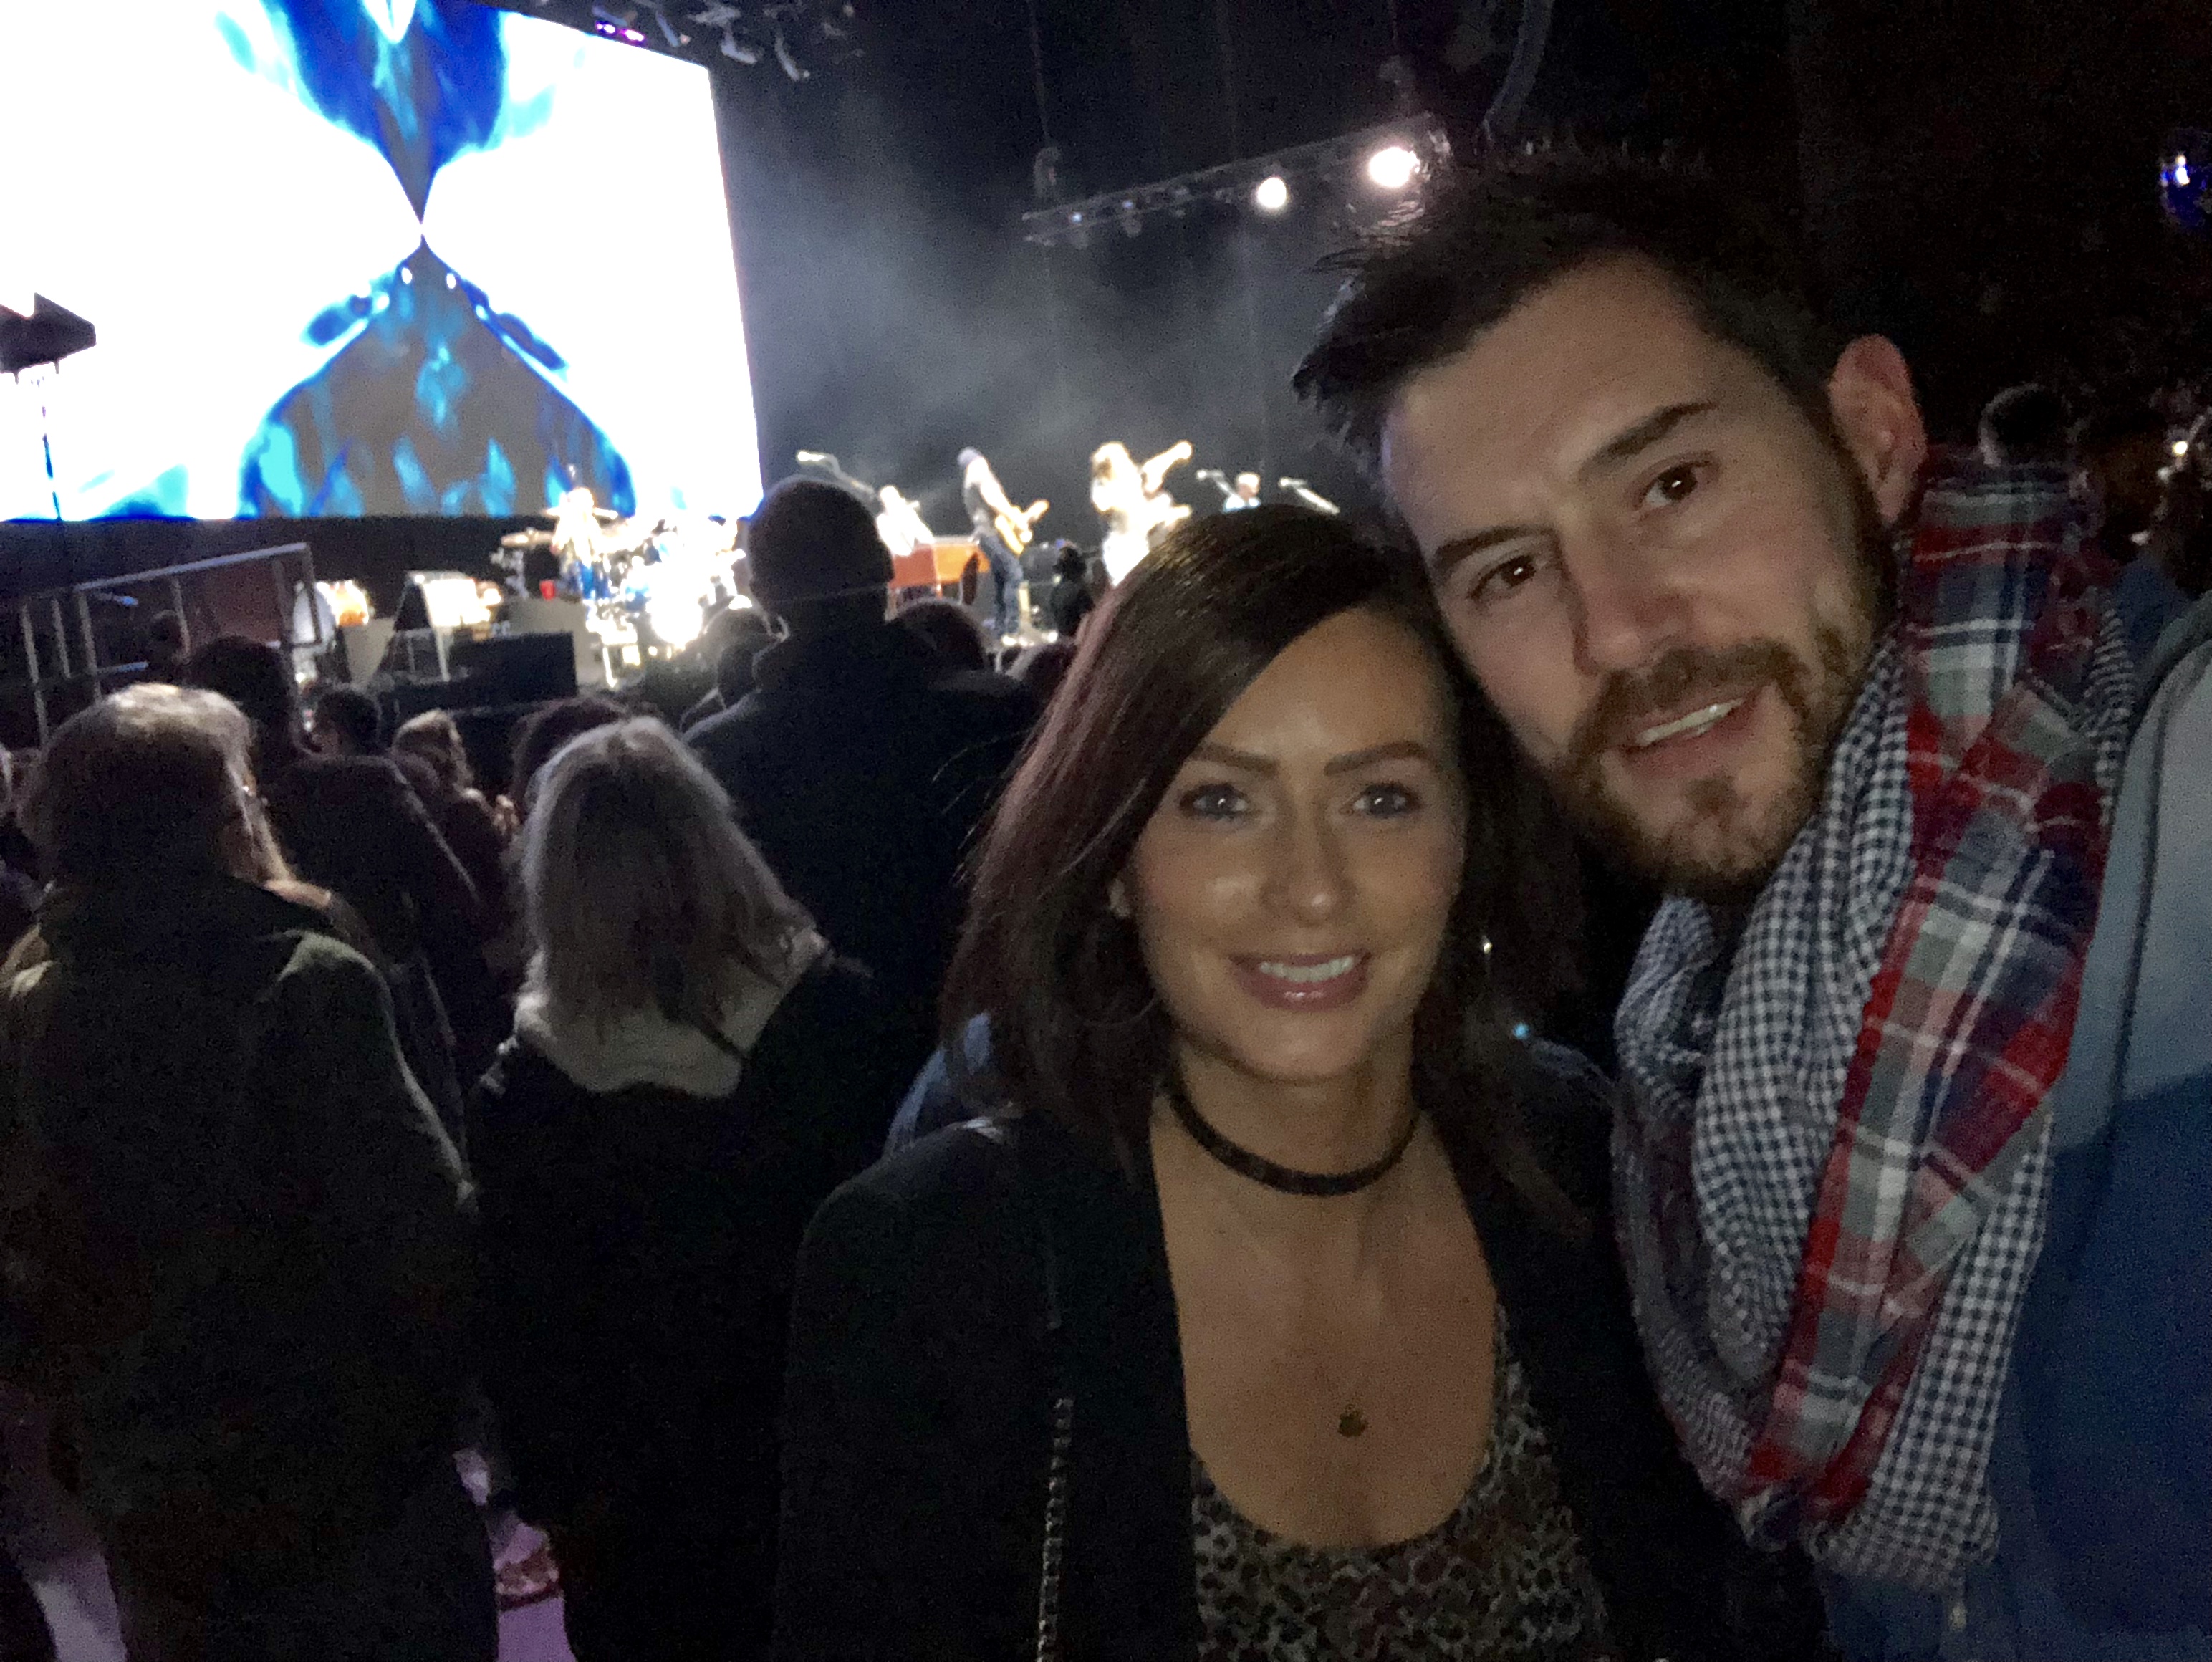
First night out with my hairpiece
Whether you go au natural, opt for a scarf, a wig or a hair piece it will all take a little getting used to. I remember the day I bought my wig and wore it home, I felt everyone was looking at me and knew I was wearing a wig. I still feel the same with the hair piece but the truth is, no matter how odd we feel ourselves, people are too consumed with their own thoughts to bat an eye and the paranoia is mostly in our heads. I’ve also noticed when I see others with wigs on /trying on wigs I’ve thought they look amazing on them but looked desperate on me and likewise I’ve seen some women rocking gorgeous scarves which I felt I could never carry off. So I think we need to try our best to be kinder to ourselves and rock whichever look we opt for with confidence while remembering how fabulous we are (wink emoji!)!!!!
Pre-treatment I relied on L’Oréal’s “Magic Retouch Hairspray” to get me from one hair appointment to the next, however I always found it messy to apply and difficult to control where the spray went. I didn’t like that the lack of control over the spray with my scalp often ending up covered with dye which I had to tackle with a baby wipe afterwards. I also found it left a “sticky” feeling in my hair. Once I started treatment I wanted to minimise any possible irritation to the scalp so even though the L’Oréal spray is approved by the cold cap company I opted for one of the “eye shadow” root touch ups instead. Up until recently I used John Frieda’s “Root Blur” which I got in Boots. I found this did a good job and liked that it was so much easier to apply to specific areas and didn’t leave the same sticky feeling the spray did. I ran out of this recently so purchased “Color WOW root cover up” which at about €36 is definitely more expensive but it has excellent reviews and was recommended to me (there is information online of Irish stockist or it can be ordered online). I did find this really good, however in fairness to the product by the time I bought it my greys had gone way beyond the normal root regrowth stage and it was becoming a big job to try and cover them all.
Color WOW root cover up
I still use WOW for areas around my face and specific areas needing a touch up but for the crown of my head I have gone full circle and am back to L’Oréal’s Magic Retouch Hairspray. I have found this covers the longer greys better on the crown of my head better and as I’m now clipping the front of my hair back for my “comb over” the things that annoyed me about it before (dying of the scalp and stickiness) are not as much of an issue.
Microblading is a semi-permanent tattooing technique that creates hair like strokes to fill in sparse or thinning brows. Microblading can also be referred to as Phi Brows or eyebrow embroidery (not to be confused with emBrowdery below!). Microblading, unlike tattooing, is not in the deep layer of the skin, but more on the surface. It aims to give you an effortless full brow by creating natural looking strokes much like original hairs. Using a microblade, the colour is implanted into the superficial dermis of your skin. The microblade has a row of tiny blades enabling the specialist to make bespoke, detailed hair strokes that look like normal eyebrow hairs. An anaesthetic is applied before and during the treatment to decrease any pain or discomfort.
The first session will take about 2 hours and consultants will spend time discussion the shape and colour you would like. Your average person will need about two sessions – one first session, and then a top up four weeks later. The top up session will be shorter and take about 1 hour. The pigment will fade after the 1st session so this second session is used to add further strokes and add a darker pigment if required.
Microblading lasts between 12 -18 months but this will depend on your skin type. People with slightly more oily skin tend to last around 12 months before needing a top up, but those with normal skin can last up to 18 months. Your brows will eventually fade away if you don’t continue with top ups and salons I have been in contact with would recommend a top up every 12 months for best results.
I would say the number one thing to do if you’re thinking of getting Microblading done is to do your research and be sure to choose somewhere reputable that you can trust. When I was doing my research I came across @Julie Davis Permanent Eyebrows Wicklow who is based in Studio LR, Kilcoole. Julie’s clients before and after pictures on her Facebook page look amazing and the reviews are excellent, plus with the added bonus that her rates were slightly cheaper than a couple of other places I had checked out. For these reasons I had chosen Julie Davis Permanent Eyebrows Wicklow to get my eyebrows done – that is until I discovered I had left it too close to my treatment. I was ragging I didn’t call and get them done sooner but no point dwelling on that now! Julie is trained in CIDESCO level skin care, has been a tutor of Anatomy and Physiology of skin for 14 years and holds qualifications in skin and diseases and disorders so health and safety comes first for her. Julie was great and sent me on some detailed information on the reason you shouldn’t get Microblading done during Chemo, although as she explains herself, this will vary from one salon to another, see below:
“Regarding Microblading for Cancer patients, there is very little regulation in Ireland, so no hard fast rules. Training courses in Ireland are mainly in-house accredited, with no examining body overseeing course content, training and assessment. Therefore, many of the SPMU (Semi Permanent Makeup Artists) in Ireland lack in a deep understanding of the skin and it’s healing. Every SPMU artist will have their own view on working with clients prior to and during Chemotherapy.
I would never take the risk of causing trauma or scarring to the skin during Microblading, or heighten the risk of infection. This is why personally, I would never Microblade the skin within 5 weeks of Chemo and for 6 months after.The skin is constantly regenerating itself, and regeneration of the outer layer (the Epidermis) takes approximately 4 weeks. So when the skin is cut with a Microblade, or anything else, it can take a full 4 weeks before it is healed. As we age, the process of regeneration slows down, so healing can take 5 – 6 weeks. (That’s why the best thing you can do for aged skin is to exfoliate, to encourage the renewal process to speed up, bringing fresh new skin to the surface!)
It’s not only our skin that’s constantly regenerating itself, our whole body is. All of our cells in our body are constantly dividing, to make new cells, and the older ones are then destroyed. Sometimes during cell division, the cells mutate. It’s normally not an issue, as the body can recognise it, and kill of the mutated cells. But sometimes, the body doesn’t notice the mutations, or does notice, but can’t do anything about it. In this case, the mutated cells are free to rapidly divide and multiply, and this is what we call ‘Cancer’.
Chemotherapy is introduced to attack these fast growing cells. Unfortunately, Chemo doesn’t differentiate between our ‘bad’ fast growing cells, and our ‘good’ fast growing cells – ie our skin, hair and nails. So it attacks these too. The result is that our hair can fall out, our nails become weak and our skin regenerates a lot more slowly, it’s protective barrier has broken down and is more open to infection.
As our skin regenerates more slowly during this time, any wounds will take longer to heal. This, along with the reduction in our White Blood Cells, can leave the area open to infection, and slower healing. The available WBC (white blood cells) of the body are needed elsewhere for healing during this time.
After Chemotherapy, it takes a long time for the skin to return to it’s original state. I don’t recommend Microblading for up to 6 months after Chemo”.
emBrowdery
I contacted Up to My Eyes in Greystones, Co Wicklow 2 weeks ago to check their policy in relation to Microblading during chemotherapy and it was only then that I discovered they offer alternative option – emBrowdery which is suitable to have done during chemotherapy.
emBrowdery was introduced to Ireland in 2013 by Up To My Eyes. Like Microblading, emBrowdery aims to create realistic hairs in your brows to create the perfect shape for your face. However, there is no cutting of the skin with Embrowdery. It is based on the fact that when you pluck or thread your eyebrows you create tiny holes in the skin but there is no scaring or scabbing so it is the most natural form – hence why it is safe to do during treatment. emBrowdery is a method whereby fine strokes are penetrated into the skin for a hair-like finish. The appearance is natural, subtle and blends with or without hair along the brow bone.
EmBrowdery technicians use a manual hand tool and a set of several fine needles to dip into a pigment and then apply to the skin. The tool is lightly placed on the surface of the skin and gently moved forward and up to flow pigment into the skin. Individual hairs are drawn on. The colour only penetrates the very top layer of the epidermis. The procedure is virtually painless and is more like plucking or threading. The side effects are just a little redness around the area which fades after a few hours.
Within a week of your first treatment the colour will fade significantly and over the next four weeks it can continue to fade as much as 30-50%. This is because the pigment is being “carried” by your body from the top layer to the bottom layer of your epidermis. This means you have the option to adapt your shape and colour in between sessions.
After a month the second phase of emBrowdery is carried out, the colour will fade again after his session but to a much lesser degree. Another month later the final session is carried out. At this stage your eyebrows become semi-permanent. I was advised my eyebrows should last 12 months but this will vary between clients due to differences in skin types for some they may only last 6 months. This is a risk I’m willing to take at the moment but I’m keeping my fingers crossed for 12 months and I always have the option to change to Microblading for my top ups further down the line.
My emBrowdery experience (so far!)
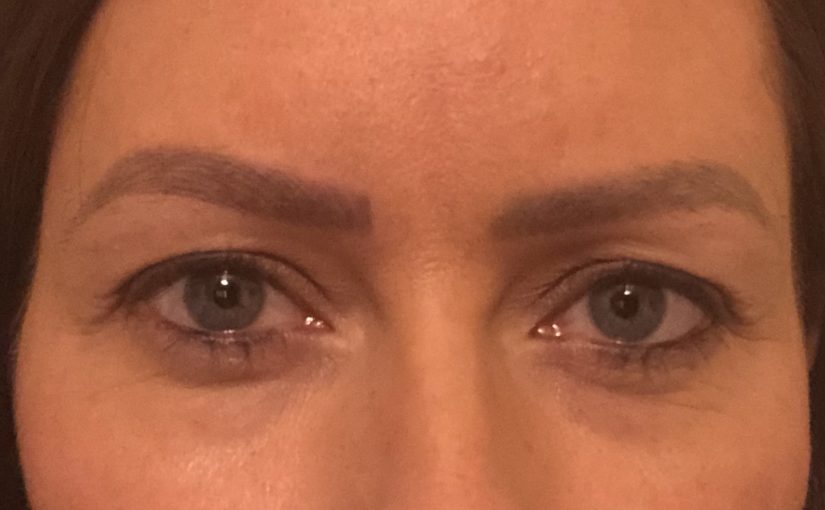
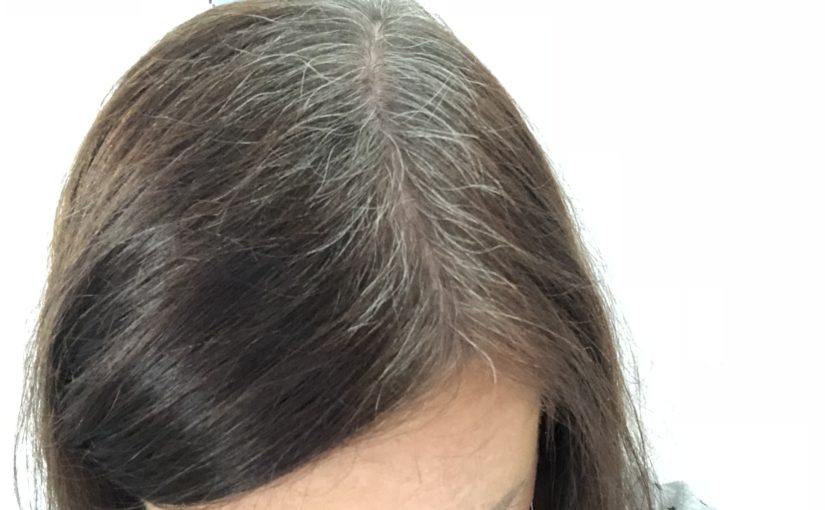
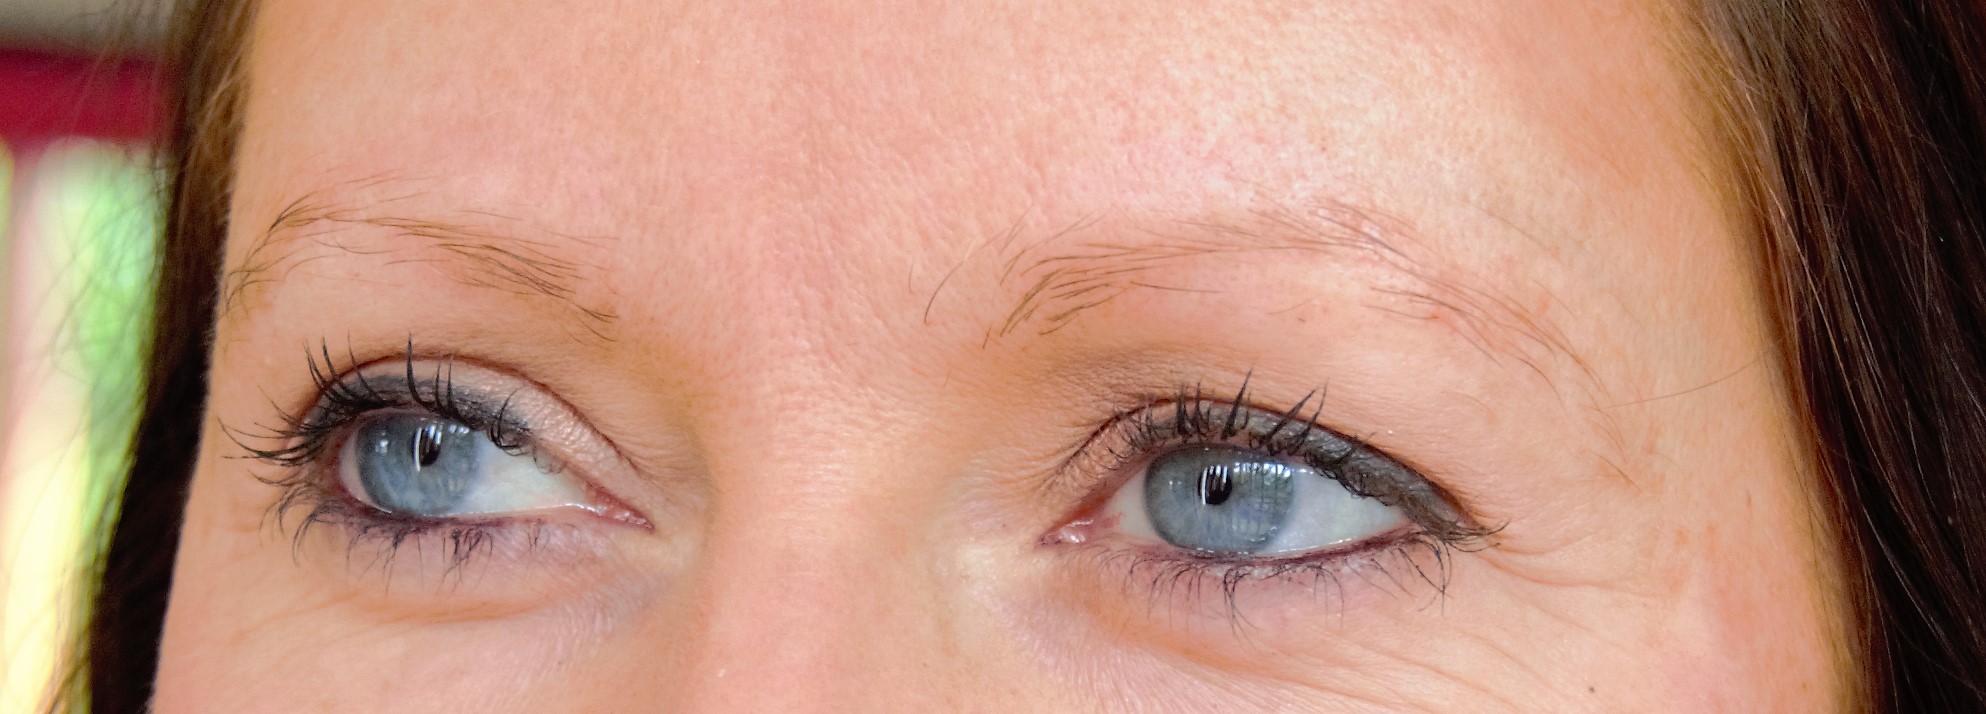
Cringing over these up close photos!!
My eyebrows without makeup prior to emBrowdery
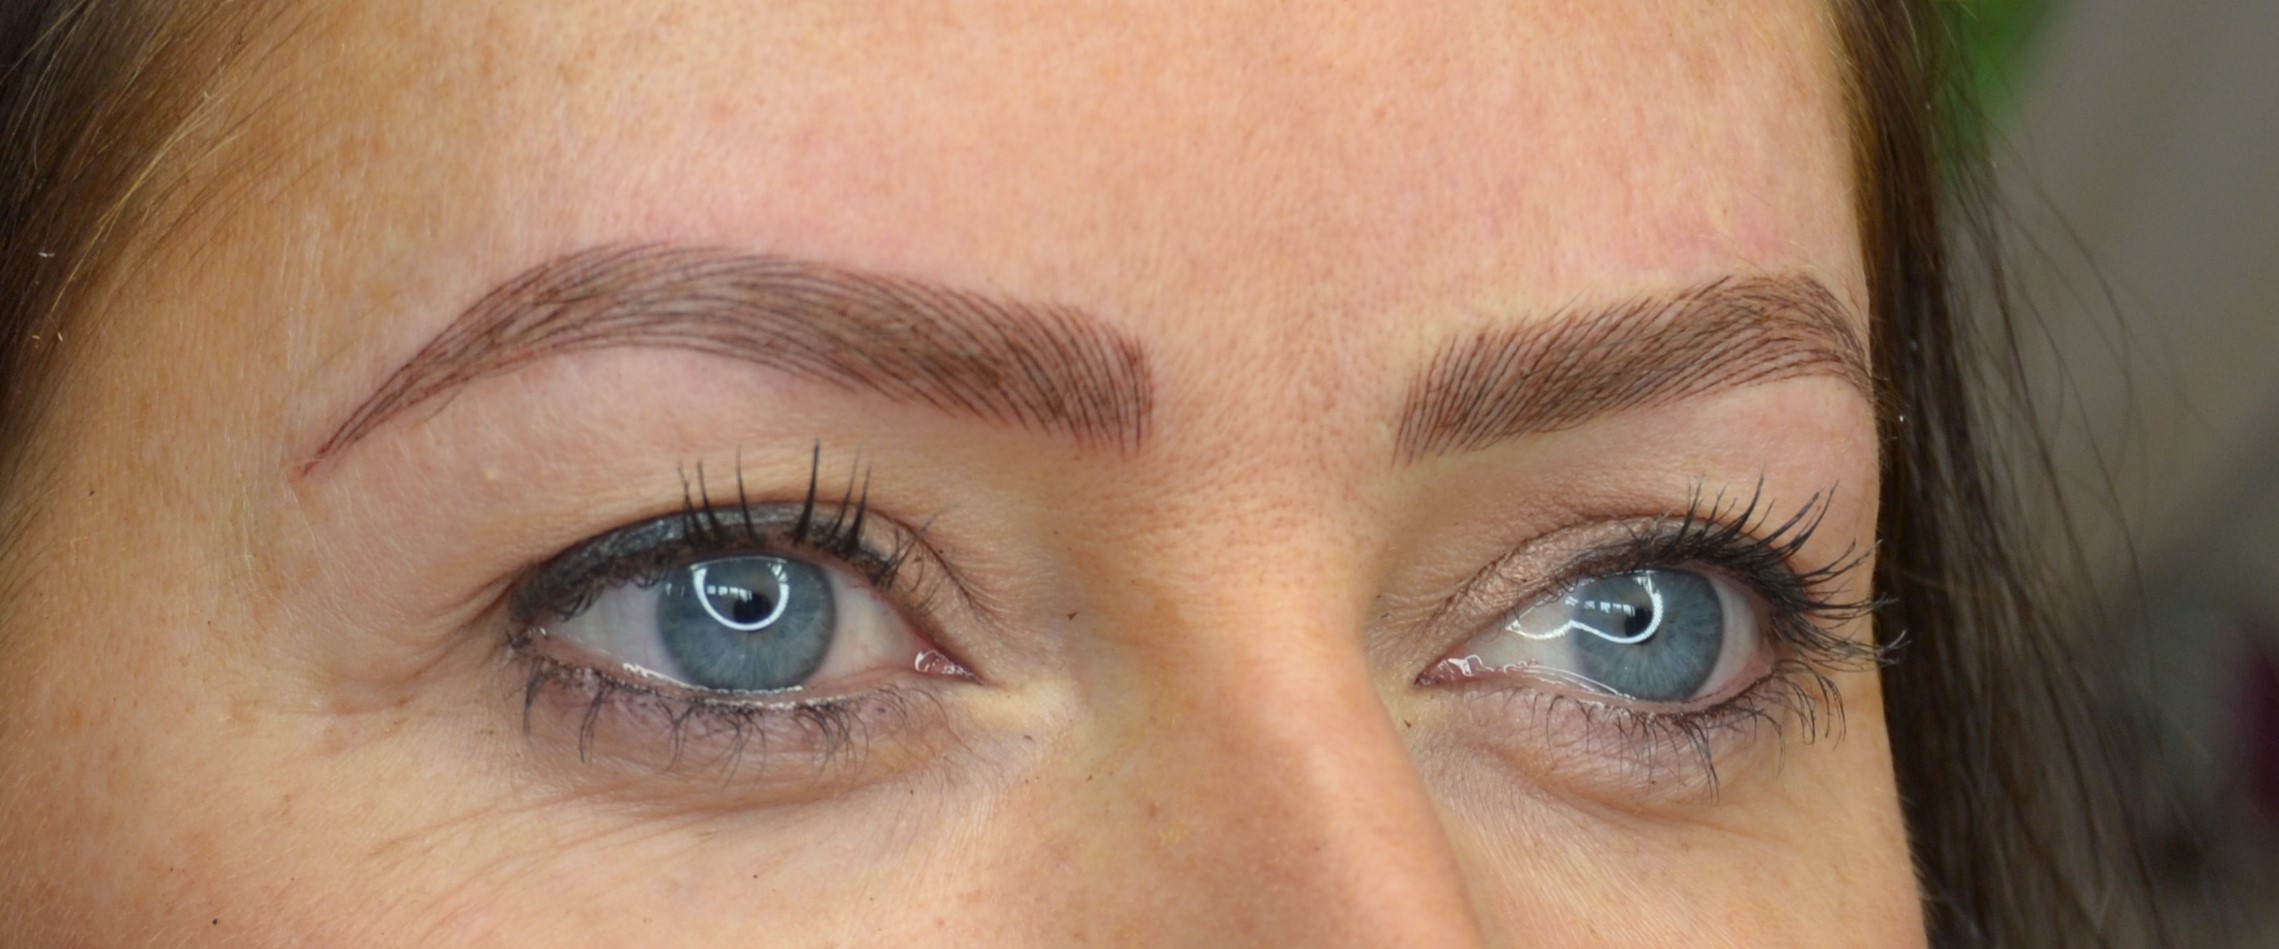
It’s only been a day since my appointment so this is just the starting point but I will do a post update after each session to show the progress and final results!! Jurgita looked after me yesterday and I have to say she was just lovely, so nice and professional and really took time and care when doing my eyebrows. There is a consultation beforehand which takes up to an hour and then the emBrowdery itself takes about another hour. Mine ended up taking about 90minutes, but it was nice to know Jurgita was taking the time needed rather than rushing and trying to fit it into to a time slot. It wasn’t a painful process – a bit of stinging at the most. There is a little after care for the next few days but nothing major – I need to avoid getting water on my eyebrows and have a cream to rub into them 3-4 times a day for the next 5 days. I am happy with the results, I do think the hair strokes look natural and considering how little was there beforehand I think it’s amazing that I now have full brows.
My eyebrows just after emBrowdery
I’m still trying to decide whether I will change the shape a bit or not but the beauty is that I have the option to do that if I want. It’s been a long time since I’ve had eyebrows without my makeup on so it looked very strange when I took my makeup off last night so that will take a bit of getting used to. It has definitely cut down on my makeup application time though which is always a bonus! Fingers crossed for a happy final result!!
I’ve had some questions in relation to the cold cap and what products you can / can’t use so I brought a few products in with me this time to see what was ok to use. One of the nurses has recently been to a Paxman conference (the cold cap supplier) so she was able to give me up to date info on what is and isn’t allowed. Basically, if you’re looking at products you need to try to avoid:
Parabens
Alcohol
Sulphates
Perfumes
Coconut oil is the best thing to use if your scalp is getting dry/ irritated. Just melt down the solid form you get in the health food store. Put it in your hair before you plan to wash it and rinse out with two gentle washes in tepid water to remove the oil.
You can wash your hair 2-3 times a week but for those in between days Batiste dry shampoo is ok to use.
It’s ok to use a little conditioner (I thought this was a no no).
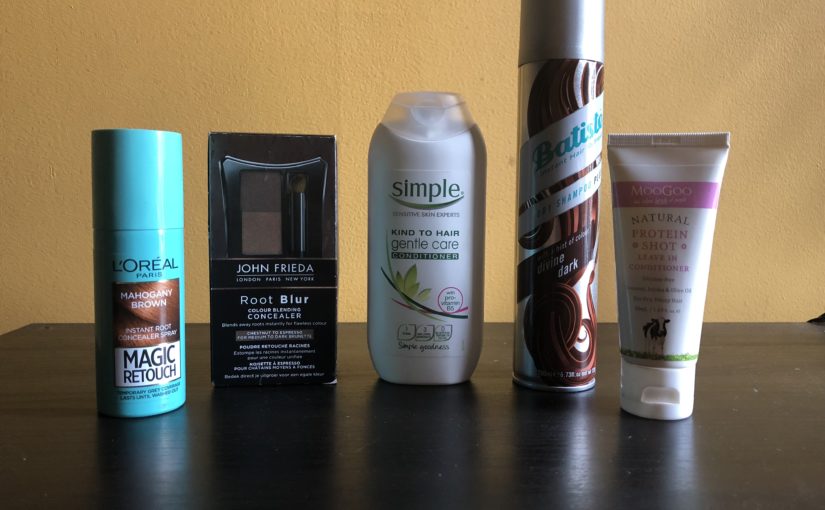
I brought in two root touch up products and both are good to use:
L’Oréal Magic Retouch
John Freida Root Blur
The leave in conditioner I was hoping to use was given the seal of approval. It’s MooGoo Protein shot and can be used in your hair when it’s wet or dry so should help anyone trying to battle the frizz without styling products.
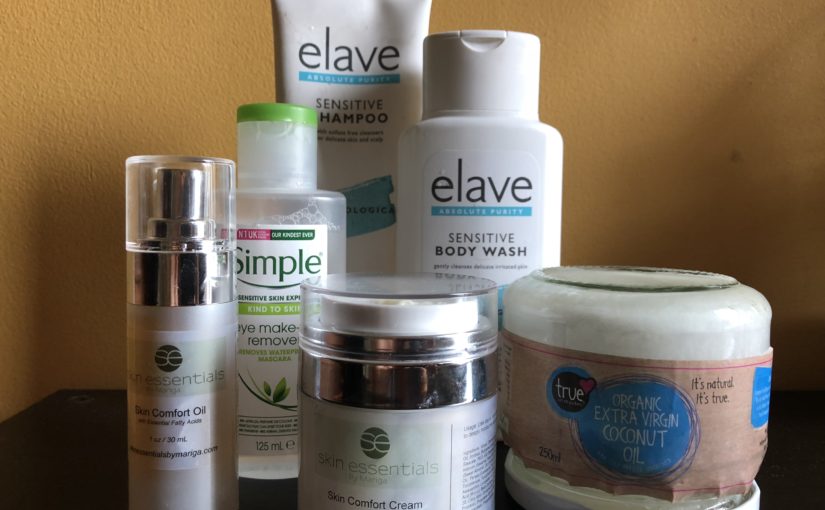
Because skin and nail cells grow quickly, some chemotherapy drugs can affect them. Your skin might become dry, flaky, red and itchy so it’s best to keep it well moisturised and avoid products with harsh chemicals. I still have a lot to learn about the best skin care products to use but at the moment these are some of the ones I’ve started using – all bar the Skin Essentials products can be found in most chemists (or health food stores for the coconut oil):
Elave shampoo and body lotion
I already had these at home as we use them for the boys but they were also recommended as a brand in the hospital. The Elave products are great for dry sensitive skin.
Simple
The Simple brand was also recommended in the hospital and are a nice affordable option. (their shampoo is suitable if you’re using the cold cap).
Extra Virgin Coconut Oil
My mum recommended this to me. She used it in the shower as an all over body moisturiser including on her scalp when she lost her hair. I was a little unsure about this at first because I’m not a fan of the coconut smell and thought I’d find it a bit sickening but the smell is actually nice and mild and it is lovely and moisturising.
Aqueous Cream
This was another recommendation by my mum, she used it as her body lotion. There are loads of brands of aqueous cream and you can get a nice big tub of it for a few euro.
Skin Essentials
My sister gave me a present of their skin comfort cream and oil after my operation. She has been using one of their moisturisers for years. They do a range of products that are safe to use during chemotherapy or radiation. I was saving them until I started my treatment so only started using them last week. It’s obviously too soon to see any effects yet but so far I love the texture, it’s so smooth to apply.
The moisturiser has a dispenser pump on it to stop you using too much but this can also be easily removed so you can scoop out the remains of the product when you get to the end of it, so no waste! I will post an update on how I find them working as my treatment progresses but if you’re interested in having a look, Skin Essentials by Mariga is an Irish company based in Wexford with some lovely cancer friendly products which are available online.
The idea behind the oncology safe products is that they are completely free of any actives that the skin would need to process. This keeps the workload minimal on skin that is already dealing with stressors and toxins hitting it from the inside due to medical treatments.
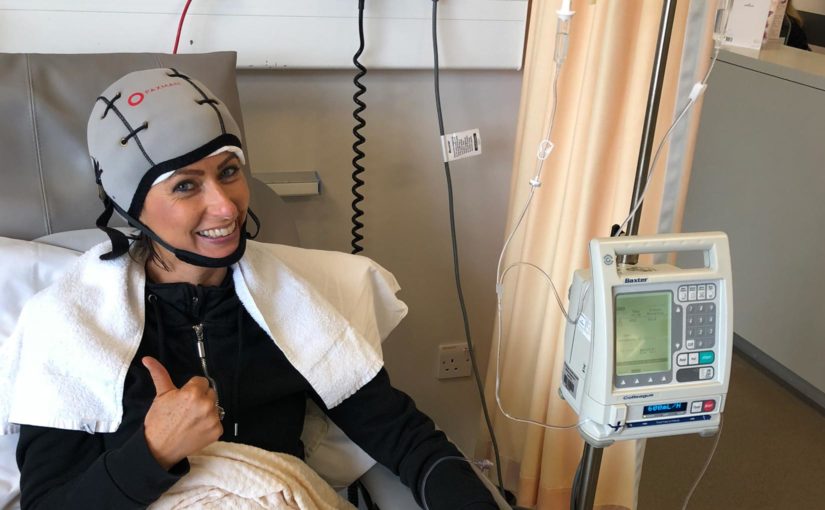
The nurse combed conditioner into my hair and tried out the best size for me. It’s important that the cap fits as well as possible to ensure the scalp is fully covered with no gaps to avoid patches of hair loss. The cold cap itself is then covered with a “rugby scrum like cap” to secure it in place as tight as possible.
Once back in the ward it is linked up to a machine and I could feel the cold bubbling into the hat. I knew the first 10-15 minutes was to be the worst so I warned Adrian if I closed my eyes and went into a zone of my own not to worry about me, it was just my way of getting through the initial dreaded brain freeze.
I was really pleasantly surprised by my experience of the cold cap, don’t get me wrong, it was cold – but more a “sticking your head in a cold bucket of water” cold than the unbearable brain freeze I had expected. I am a real cold creature and I don’t like the cold at all but at no stage (even in the first 10-15minutes) did I feel any pain, it was just cold, but not uncomfortable.
I know everyone’s experience of this is different so all I would say is if it’s something you’re considering, don’t discount it due to the horror stories and fear of the pain. My advice is to give it a go and see how you get on yourself – if you find it too uncomfortable then stop (don’t put any extra pressure on yourself) but you might just find that it’s not as bad as you thought!
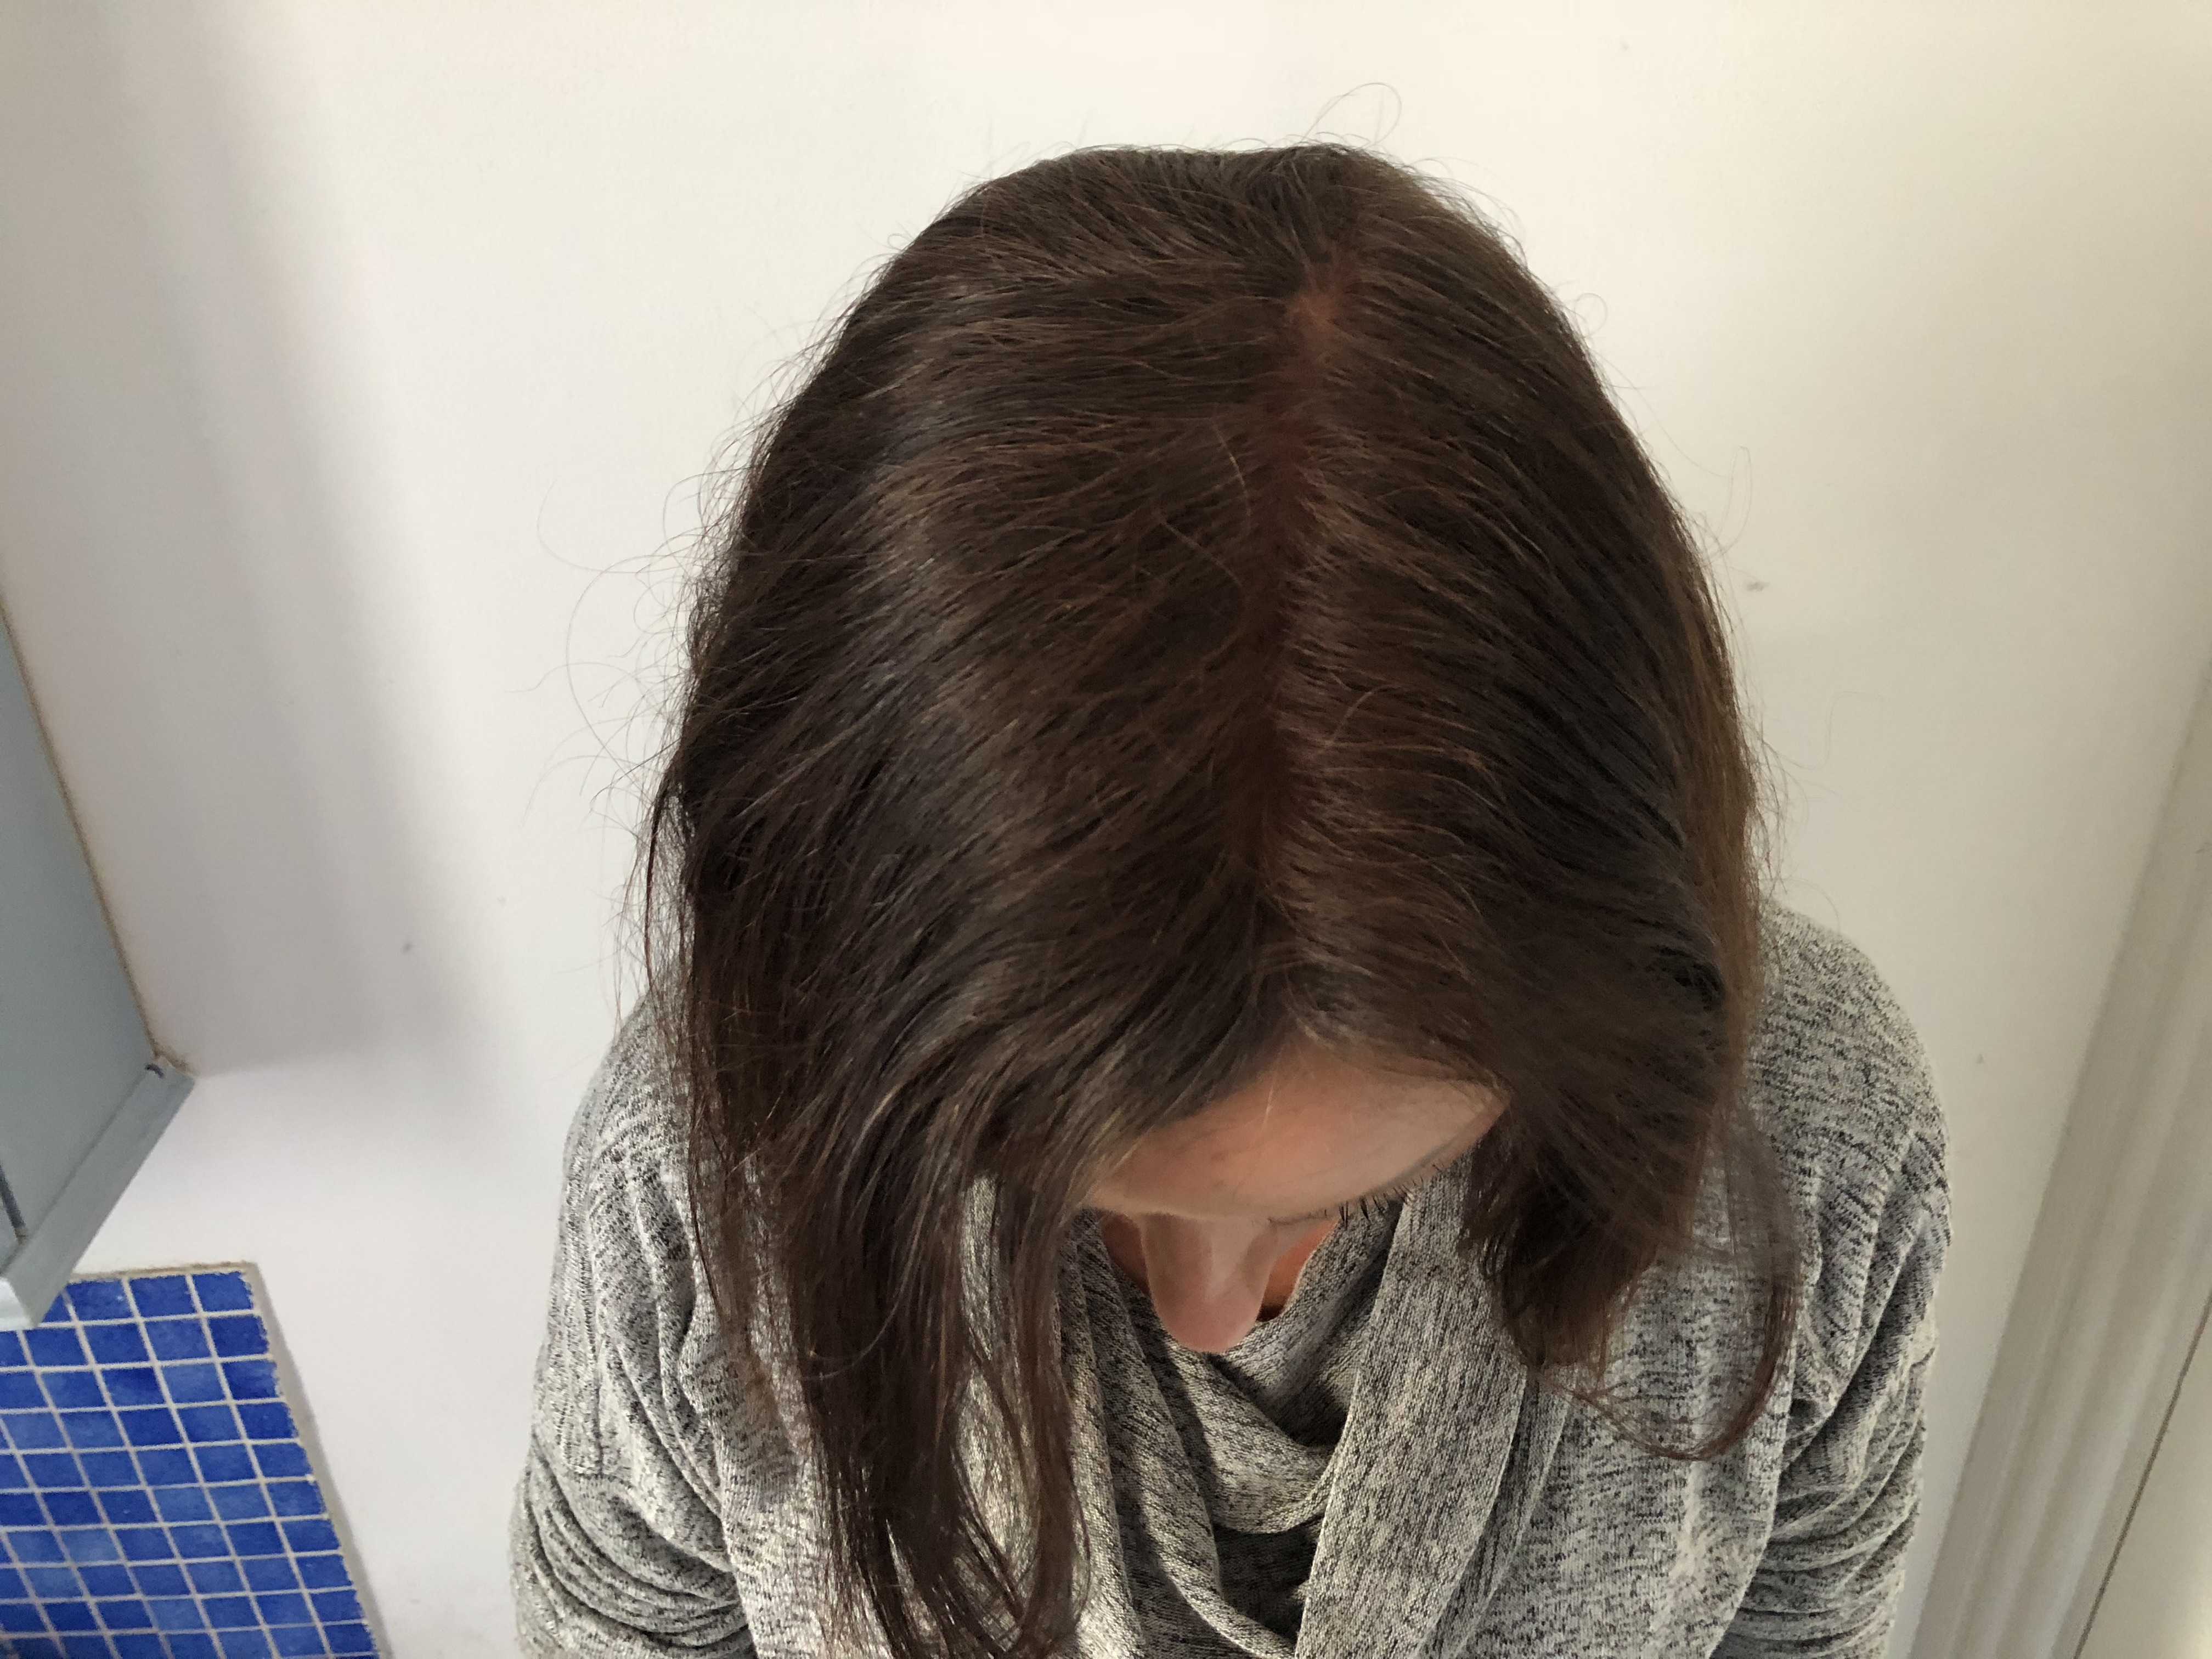
For me, my dilemma over the cold cap was always more about whether it was worth it or not, if I was going to lose a certain amount of my hair anyway, possibly in patches and not able to colour it, wash it much or blowdry it – what was the point?
The good news is they now say you can wash your hair 2-3 times a week which is a lot more manageable. They still recommend that it’s better not to dye your hair but many women do use organic dyes and I’m afraid I’m going to have to be one of these – not dying it really isn’t an option for me so I just need to take the risk!
For me now, it’s a matter of seeing how much I manage to hang on to and how patchy it gets – but fingers crossed it will be manageable. At the moment I am trying to embrace the hairband look (to tame the frizz) but will definitely be getting a wig as a backup.
When I met with my consultant she asked if I wanted to use the “Cold Cap”. I had heard about it but didn’t know a lot about it. She explained that she didn’t offer it to everyone as it wasn’t suitable for all hair types but it would work well for my hair.
It’s not on offer in all hospitals and has a waiting list on some so the hospital I would choose to have my treatment in would influence this. Based on the information she gave me I decided why not give it a try – what had I to lose only my hair which was going to go anyway. It can be painful but I knew I had the option to quit if I wanted to.
That was until I went to look at wigs and was told I can’t dye my hair until 6 months after the chemotherapy. I had already read that I would only be able to give my hair one gentle wash a week (with baby shampoo) and could not blow dry or straighten it in order to try and protect the hair.
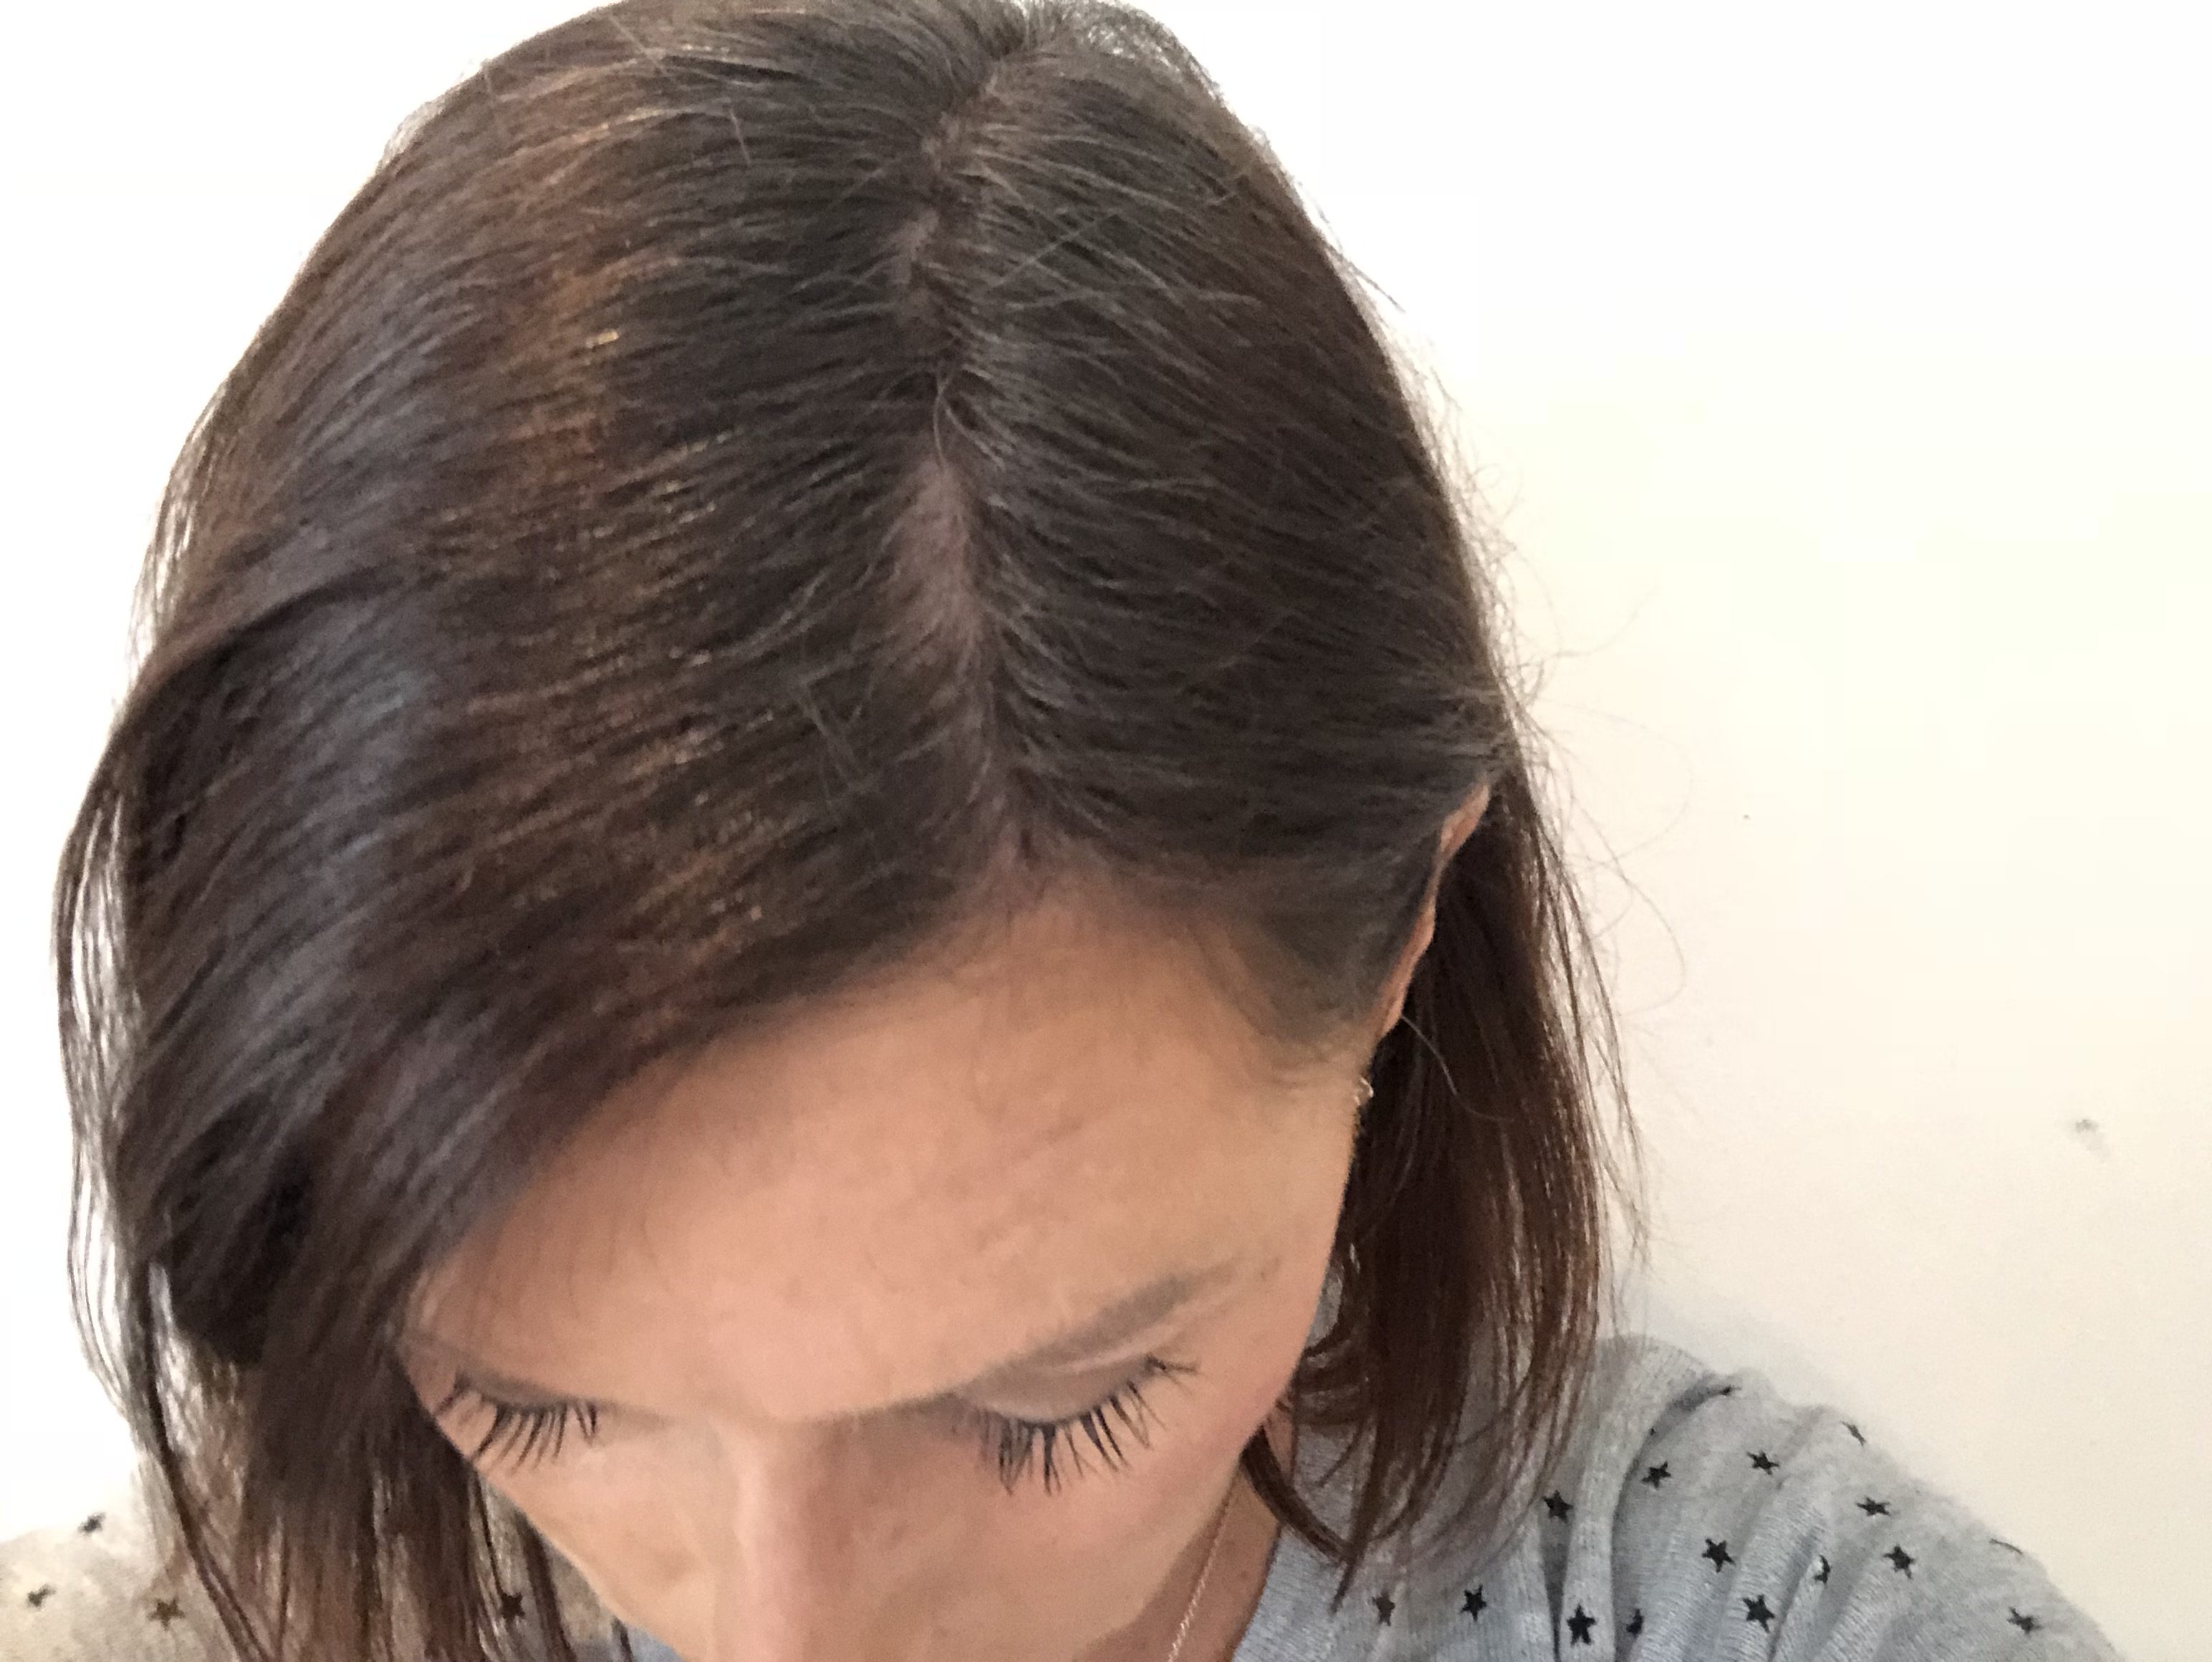
For those who don’t already know – here comes my first bare all truth….. I am not a natural brunette (well not any longer anyway!) Yep genes are a great thing and although my mums side of the family hung on to their natural hair colours until well into their 60s (and my siblings don’t have a grey hair between them) I was blessed with my fathers genes in this regard and have a nice little badger streak 2 weeks after getting my hair done!
So, the thoughts of not being able to dye it for 10 months was massive! Also, I’ve already mentioned my close relationship with my hairdryer and our backpacking adventure, I don’t just blow dry my hair when I wash it – I use my hairdryer every day to re-style my hair. So, if my hair was going to be grey, greasy or a frizzy mess – what was the point in keeping it? I would need to cover it up anyway so would I not be better just getting rid of it?
I spent a lot of time toing and froing with this decision. I finally decided I would get rid of my hair. Until – four days before starting my chemotherapy I was told by the hospital that I could dye my hair and many women did! This threw a spanner in the works! So, back to square one! In the end (and because I had to let the hospital know if I was going to use the cold cap) I decided yet again to give it a go and see what happens! I’ll give an update on my experience once I give it a try but below is some of the info provided by the company who provides them (Paxman).
Some facts about the cold cap:
Why does chemotherapy make your hair fall out?
Chemotherapy works by targeting all rapidly dividing cells in the body. Hair is the second fastest dividing cell in the body and this is the reason why many chemotherapy drugs cause hair loss. The hair follicles in the growth phase are attacked resulting in hair loss approximately two weeks after the commencement of chemotherapy.
How does the cold cap work?
The damage the chemotherapy causes to the hair follicle can be alleviated by scalp cooling. It works by reducing the temperature of the scalp by a few degrees immediately before, during and after the admission of chemotherapy. This, in turn, reduces the blood flow to the hair follicles which may prevent or minimise the hair loss.
How effective is it?
Successful scalp cooling depends on many factors such as type and stage of cancer, age, hair type, hair condition and general health. Hair loss does vary from one person to the next. Generally speaking hair loss of 30%-50% is expected while using the cold cap.
What to expect /Is it painful?
Tolerance of the cold feeling experienced whilst having the scalp cooling treatment varies widely from one patient to the next. In the first 10-15 minutes, patients often experience an intense feeling of discomfort or pain but this tends to die down as you acclimatise to the cold. Patients are advised to dress warmly to keep warm.